
While working with real-time 3D graphics, Unity, or designing digital art in general we often come across the same problems that need solving. At MoMoLab we firmly believe in standing on the shoulders of giants, so we often look for proven methods before adding our own spin to it. In this devlog devlab series, I will discuss some of these problems and the solutions we chose to explore to overcome, hide or mitigate them through proven techniques and some virtual smoke and mirrors.
Some of these topics might be on the technical side, but bear with me. I will explain everything as best as I can and hopefully give some insight into the problems we face in our day-to-day to help others who might encounter the same issues in their work.
Crafting an Efficient and Distinctive Visual Identity for MoMoLab
Recently I have been working on creating a toolbox containing shaders and assets that make up our new visual style for exhibits that involve real-time 3D, especially for our VR exhibits, but also as a more general-purpose visual identity that breathes ‘MoMoLab’. As a small studio, we often have to work efficiently with our time. And for example, the time needed to make stuff look as realistic as possible takes a tremendous amount of time and resources. For big triple-A game studios, this is no problem as they have time and manpower to produce realistic environments, but we are a team of 5 people divided between 2 developers and 3 content creators. The goal was to create a visual style that is easy to work with and produce content that fits the style and identity.
The Problem, the end of the world
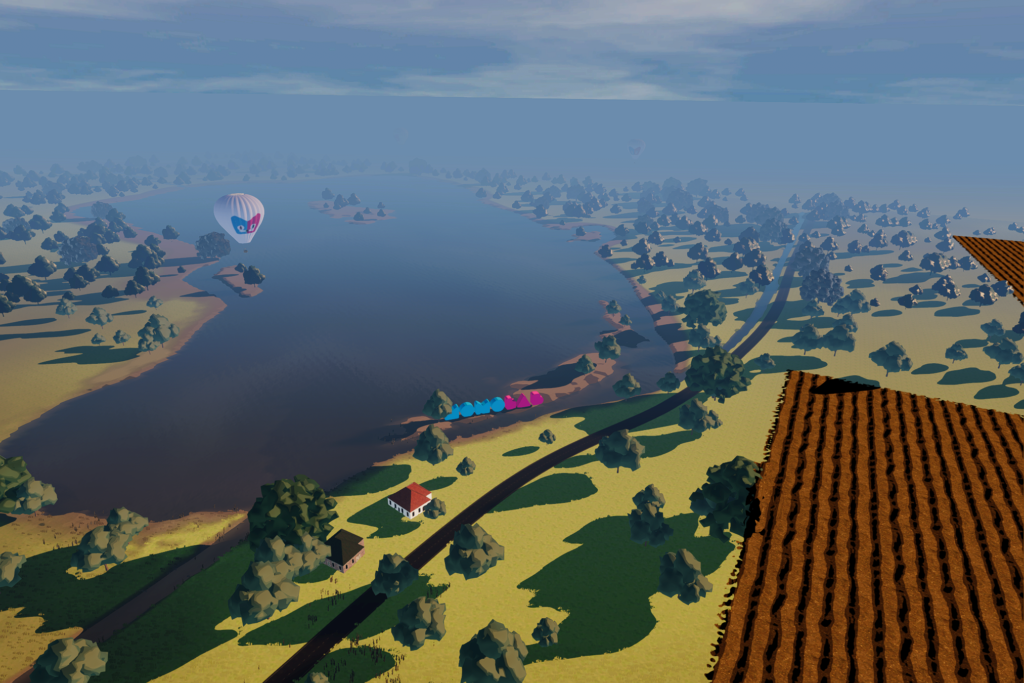
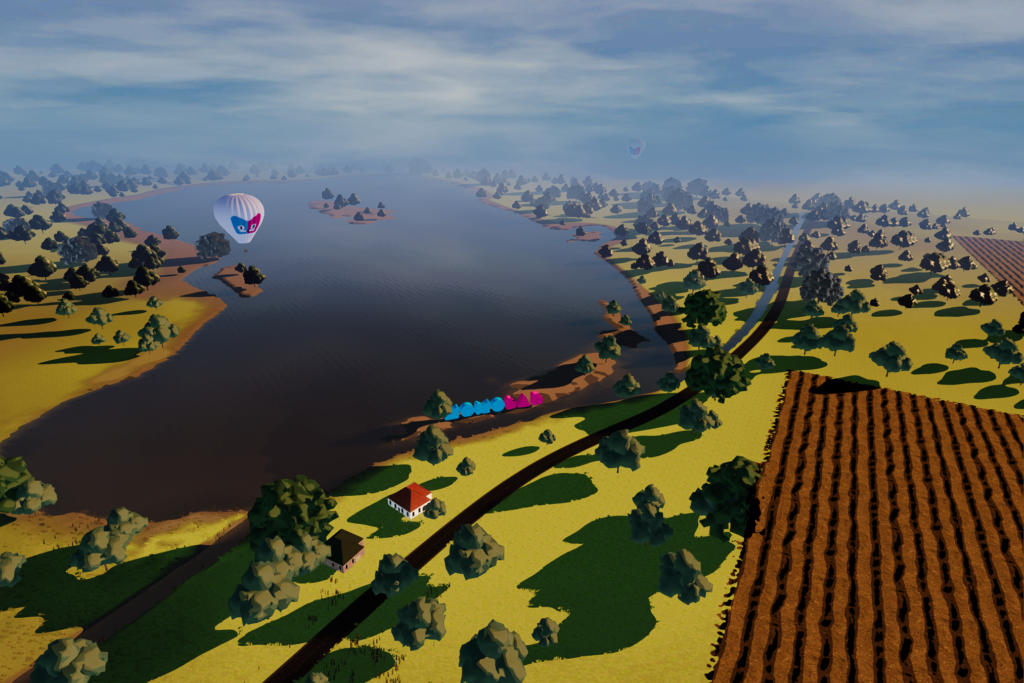
One of the first things I wanted to tackle was the end of the world, and by that, I don’t mean our eventual demise as a species as the earth heats up, but the edge of the virtual world. At MoMoLab we often need to make 3D worlds that are viewed from up in the air. For a recent example, the virtual balloon flight at the Food Forum. Just like in the real world, the higher up you get, the more you see. But unlike the real world, the virtual world doesn’t continue forever. It only goes as far as its creator designs it. This creates a problem as seeing the world end in an endless void is rather immersion-breaking.
Making the world a bigger place
Some common solutions to this problem could be to just make the world bigger or add mountains and ground elevation to hide the world’s end. At MoMoLab we often have to make Dutch-looking landscapes. The thing with Dutch landscapes is that they are ‘flat as pancake’ so the last option kind of falls flat (get it?). We’ll try making the terrain bigger to get around this.
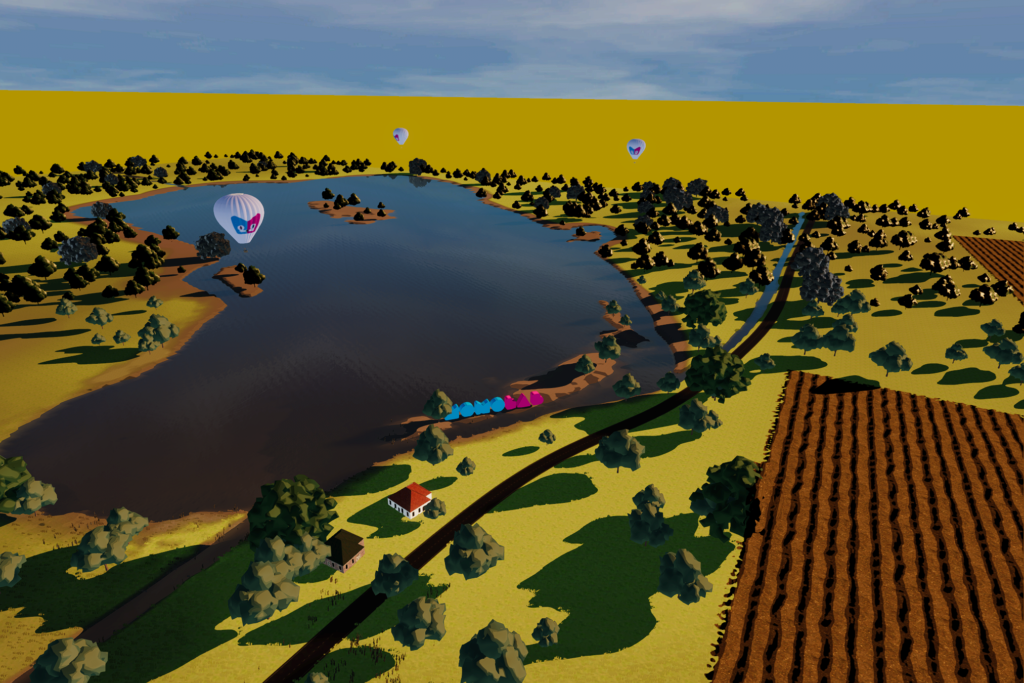
This looks slightly better, but still far from great. A big problem with this approach is the fact that a bigger world also means that you have to populate it with scenery or else it will still inevitably look empty. Furthermore, the big chunk of nothing makes what you have built feel very small. And creating a bigger world is also more time-consuming and performance hungry as the graphics card has to draw more geometry.
Utilizing Fog to Enhance Immersion
Another trick that a lot of video games often employ to hide the edges of their worlds and make them feel bigger is to add fog. Games like GTA: San Andreas and Skyrim use this technique to make their world feel more realistic and larger in size. In the case of GTA, it was very clear that they forgot to add the fog when they released the remastered version of that game.
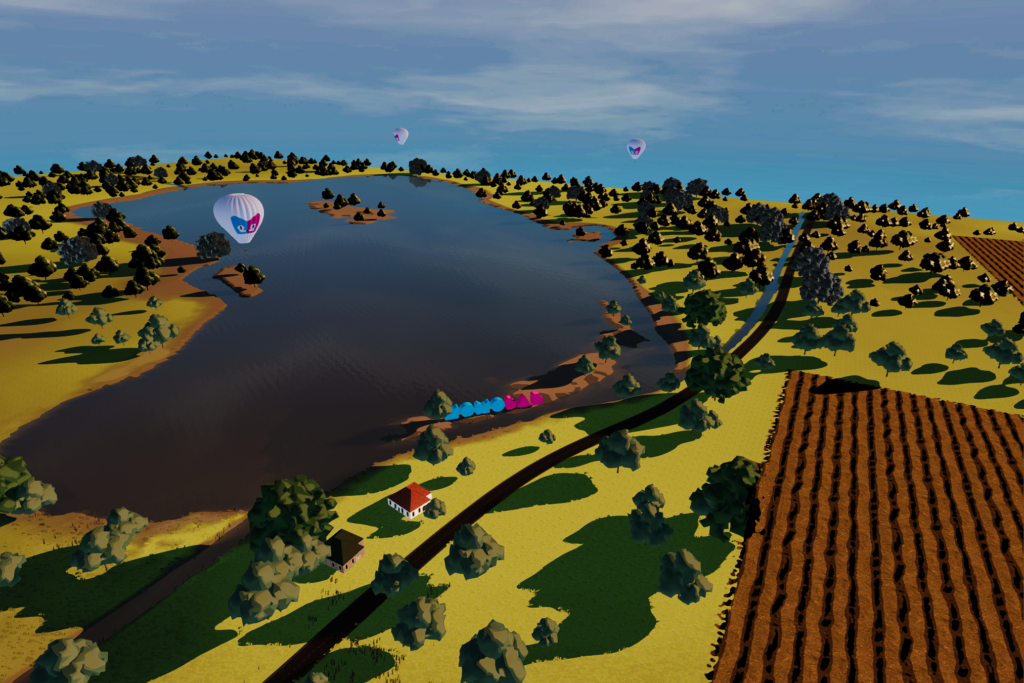
In the real world when we stand on top of a high mountain and overlook the surrounding terrain, we can observe a haze that progressively builds into the distance. Unity has a built-in Fog effect that we can use to replicate that.
The scene now looks bigger in scale and the edges of the world are now less of an eyesore. Still, there is a rather hard transition between the ground and the sky, and the fog doesn’t quite seem to match the skybox. This is even more visible when looking at the horizon from a shallow viewing angle.
Shadergraph to the rescue
At this point, we are out of luck with the standard fog that comes with Unity. Lucky for us they added the functionality to create our own full-screen effect shaders through the power of Shadergraph, a node-based tool for visually building shaders rather than doing so via code.
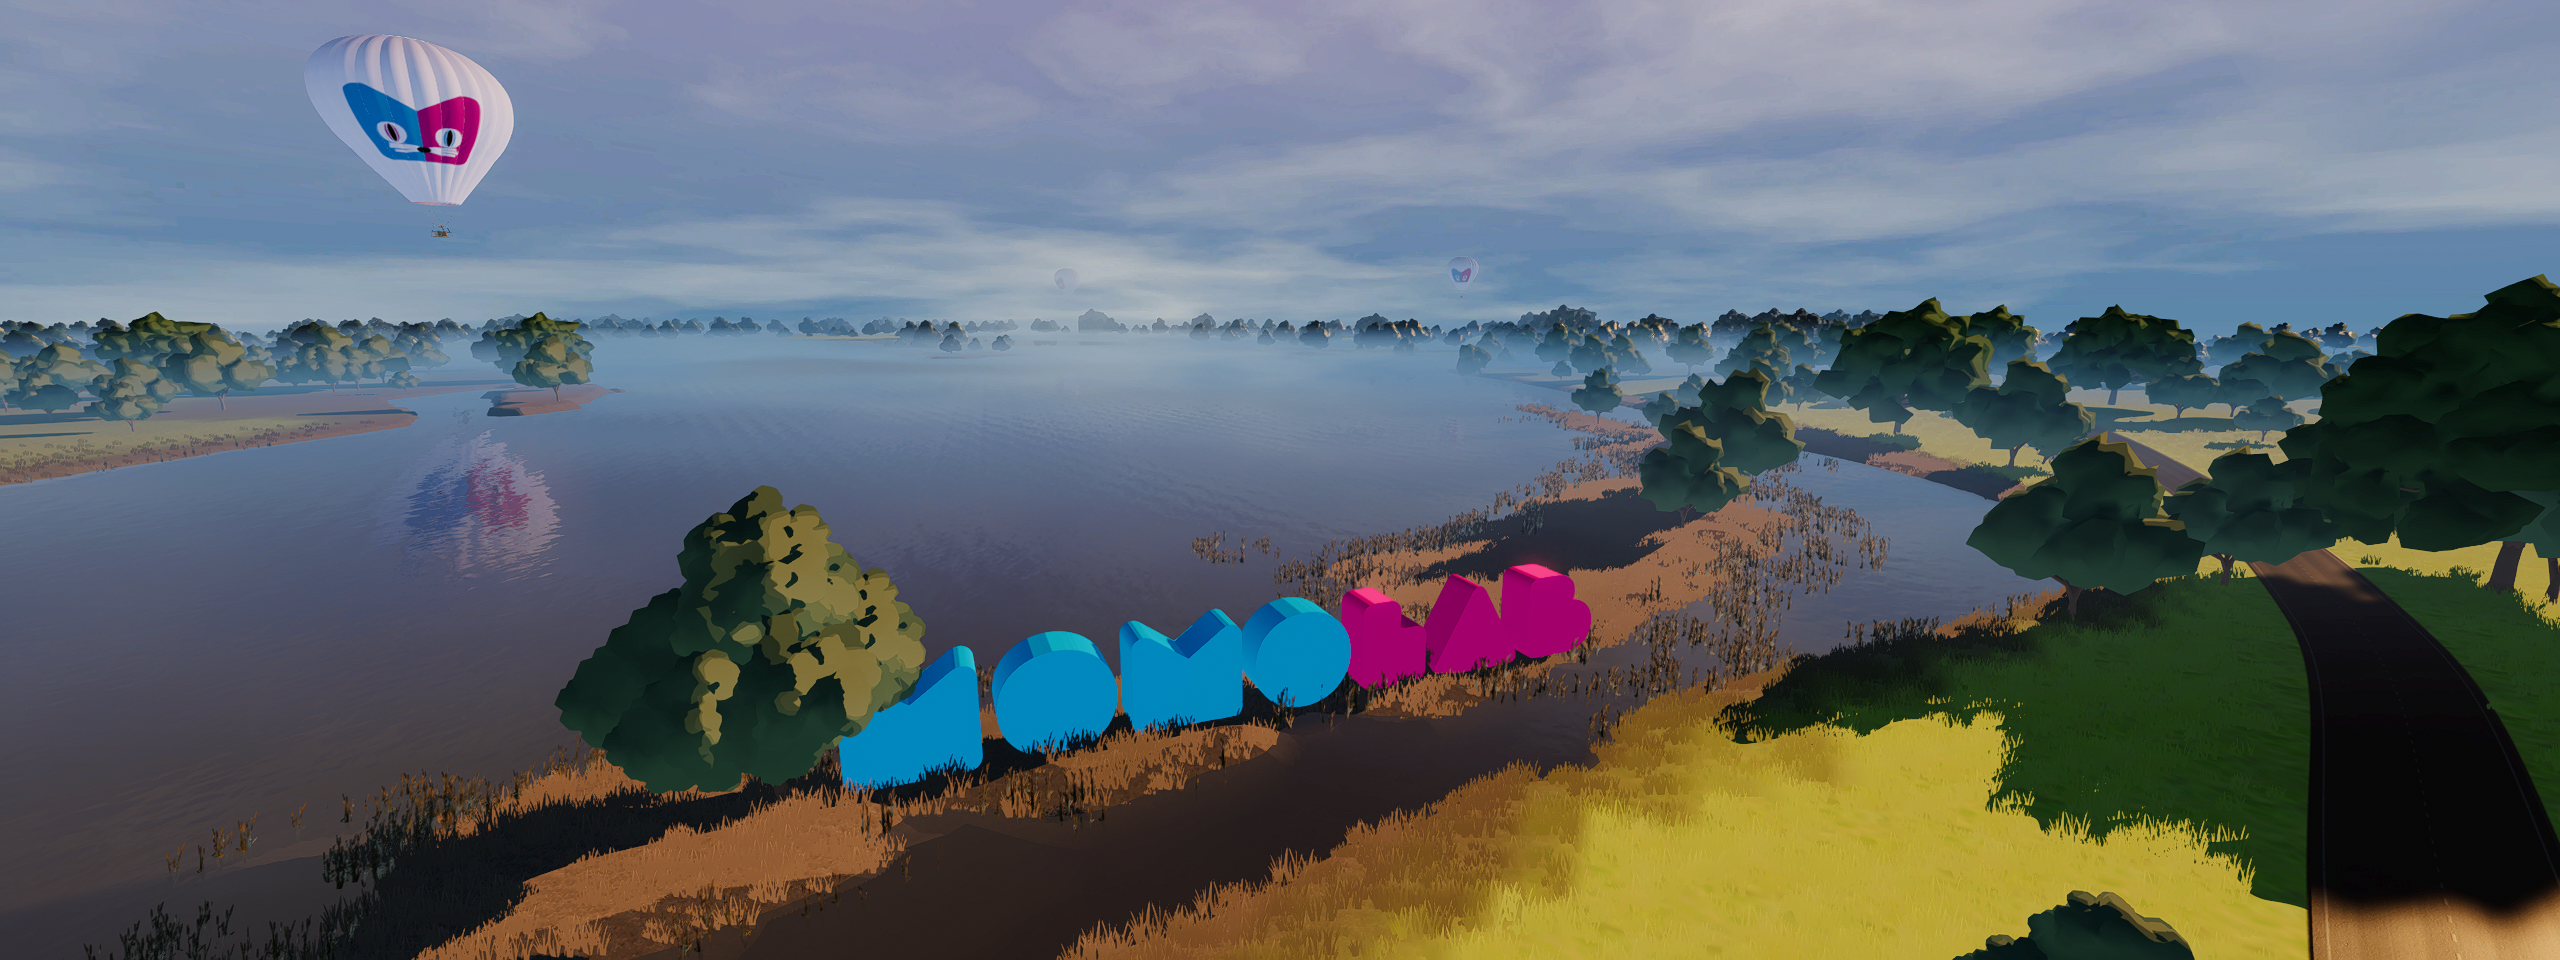
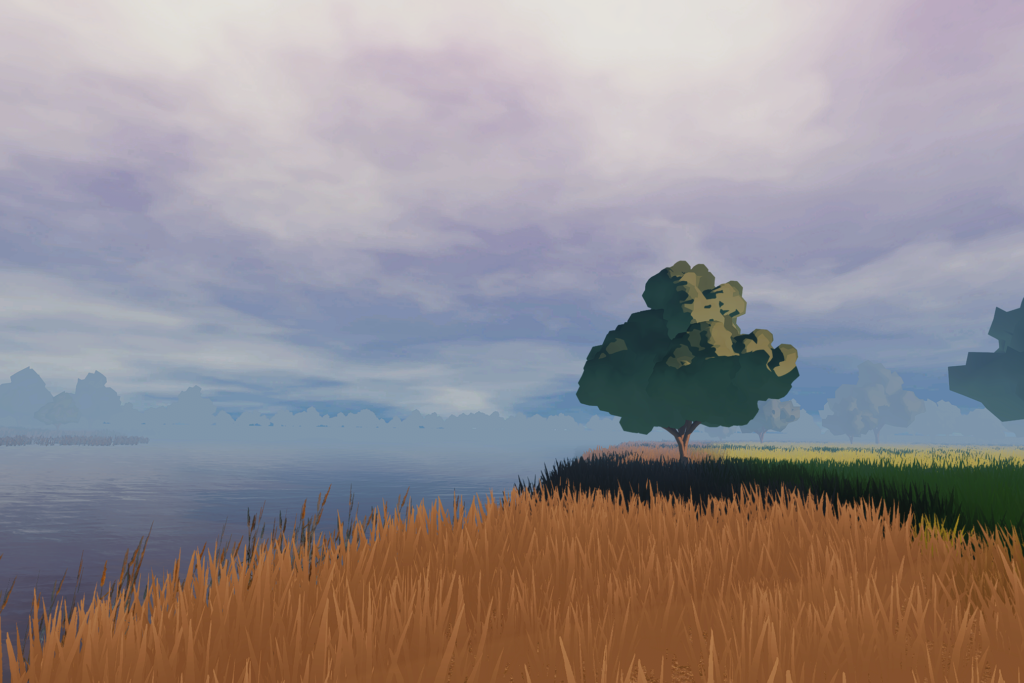
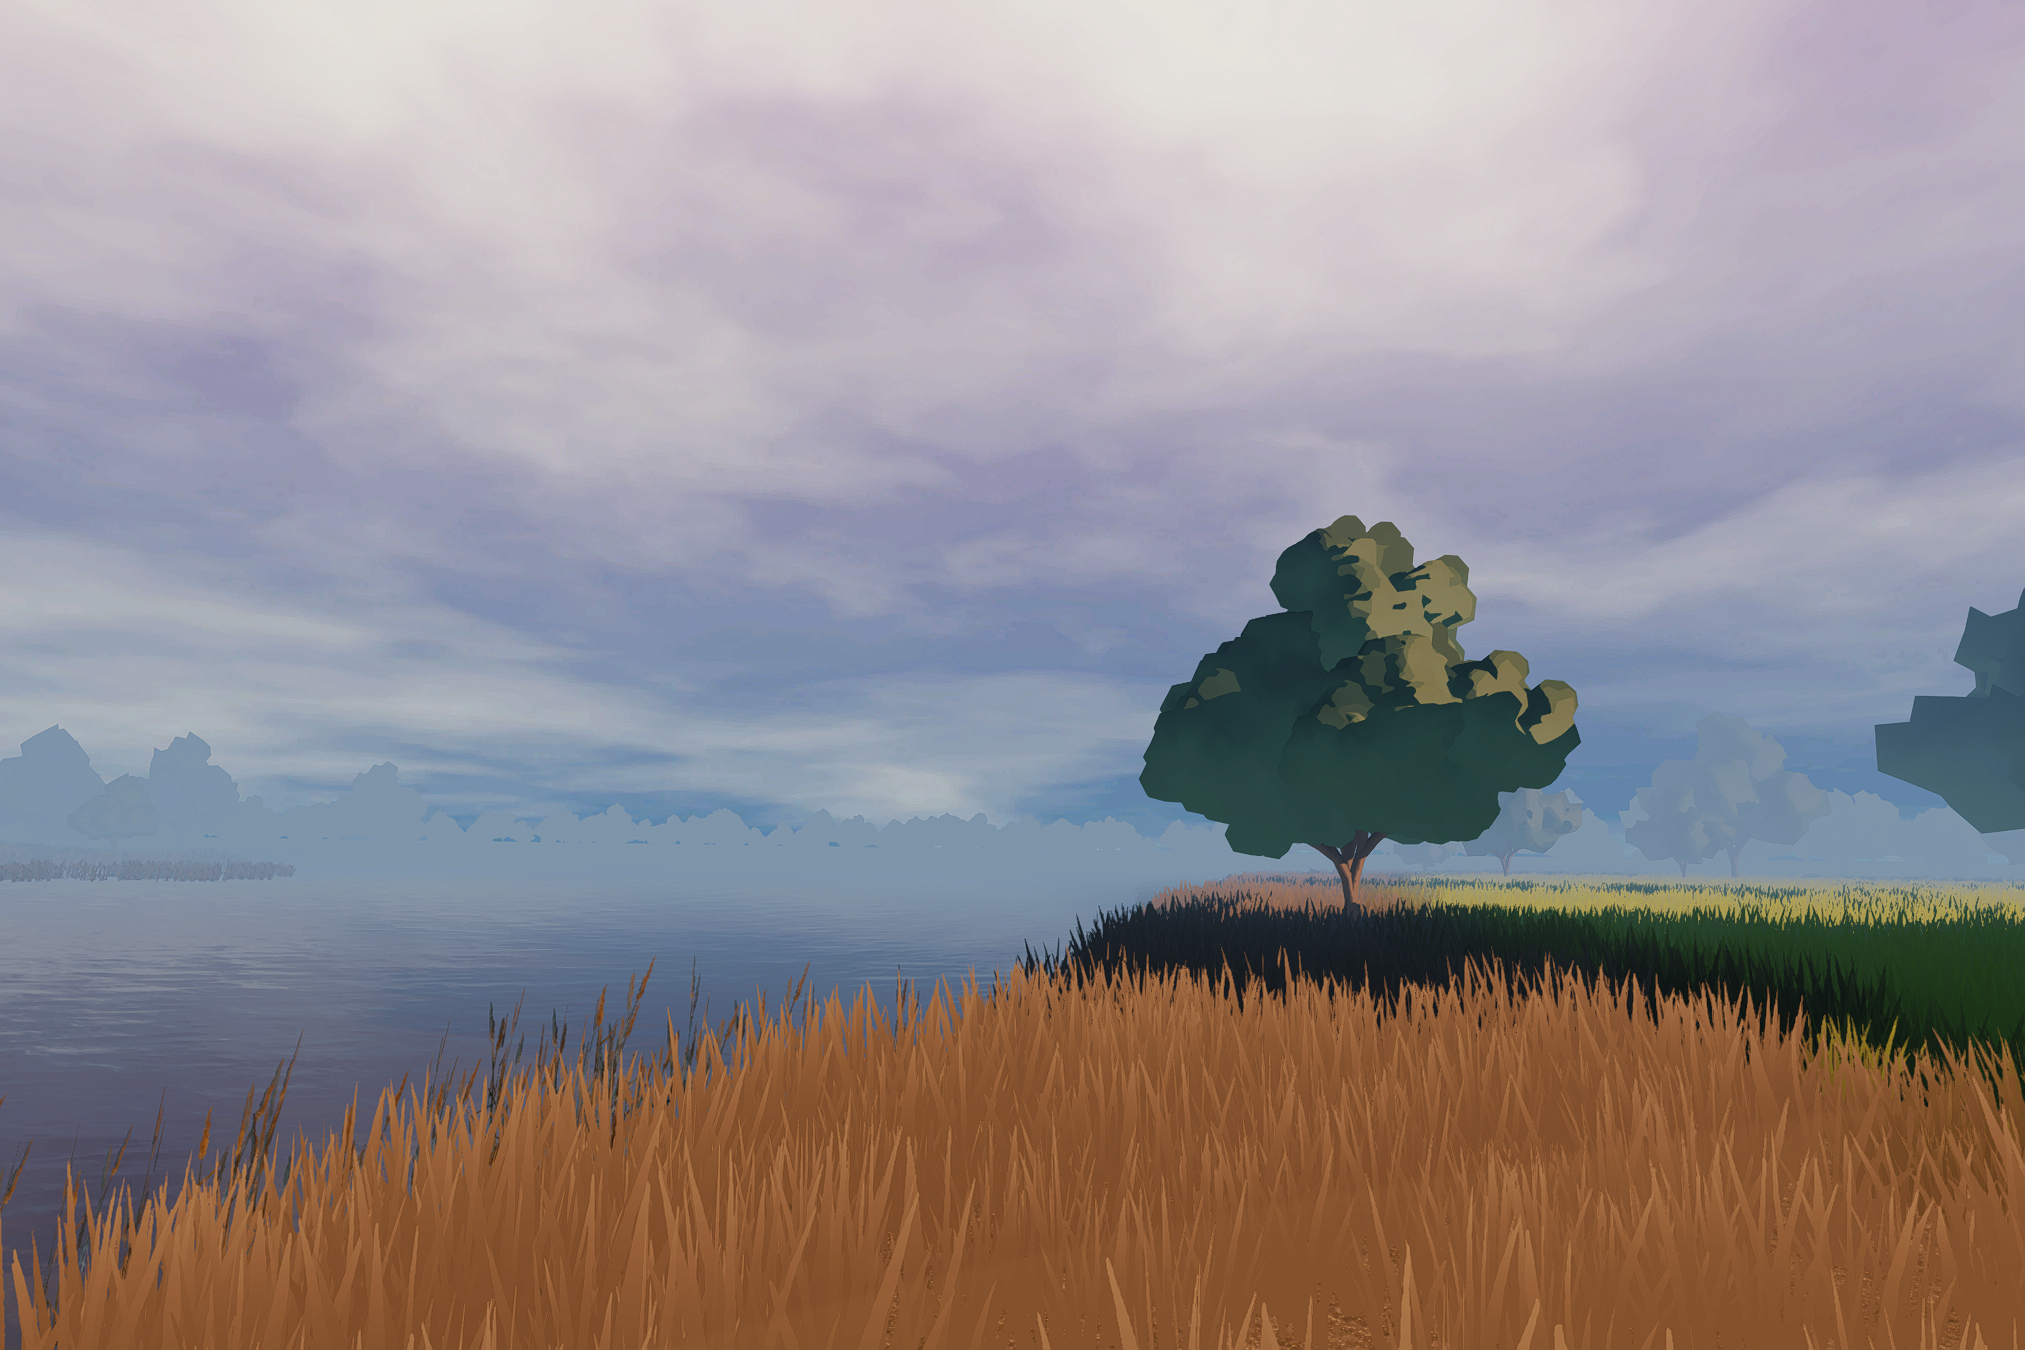
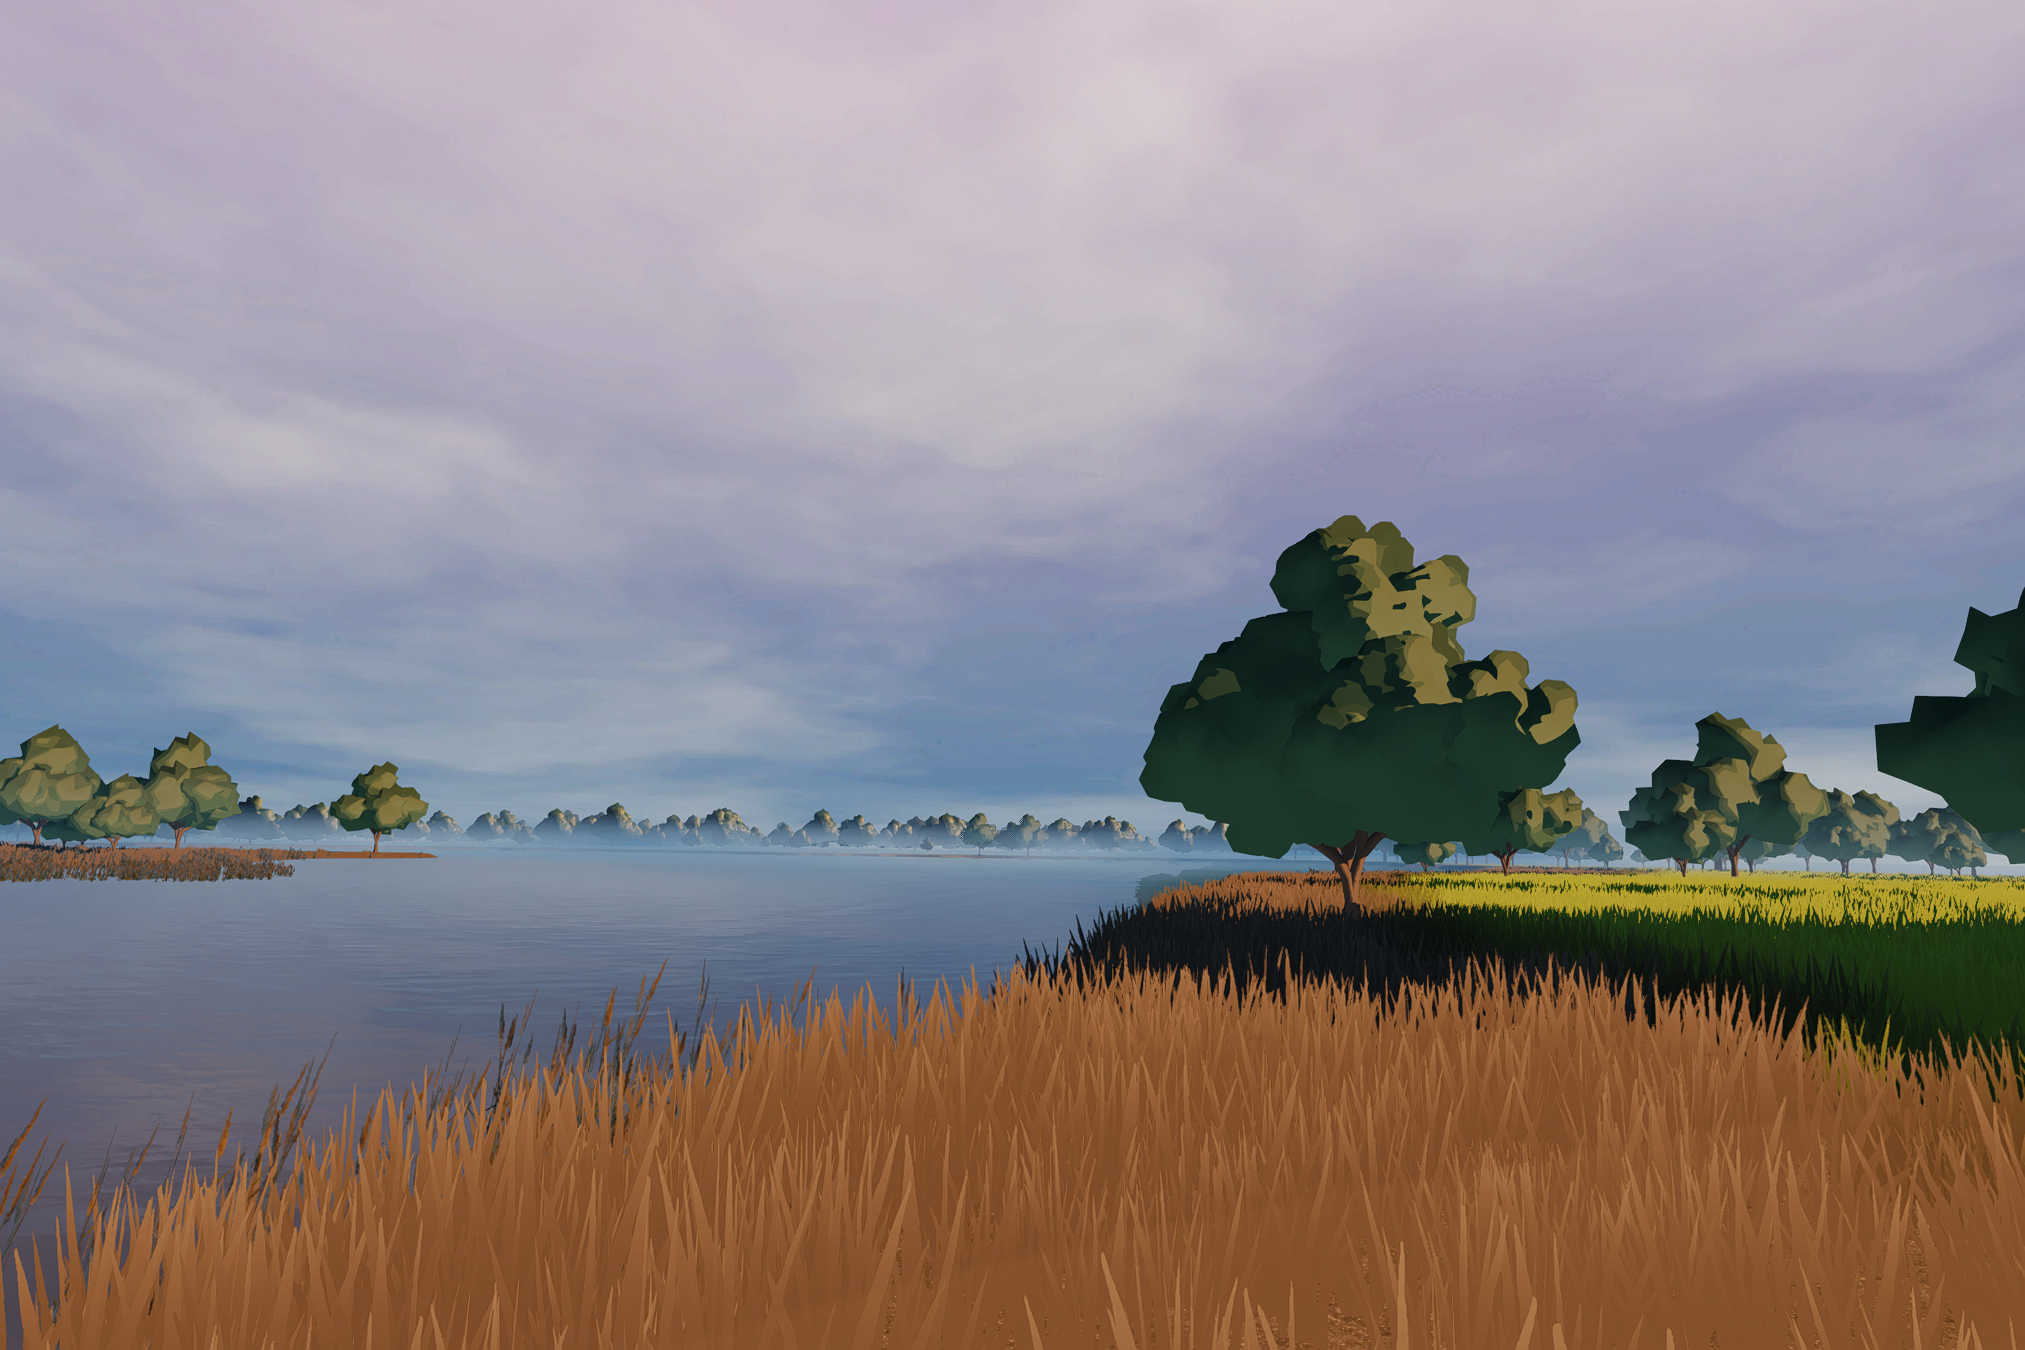
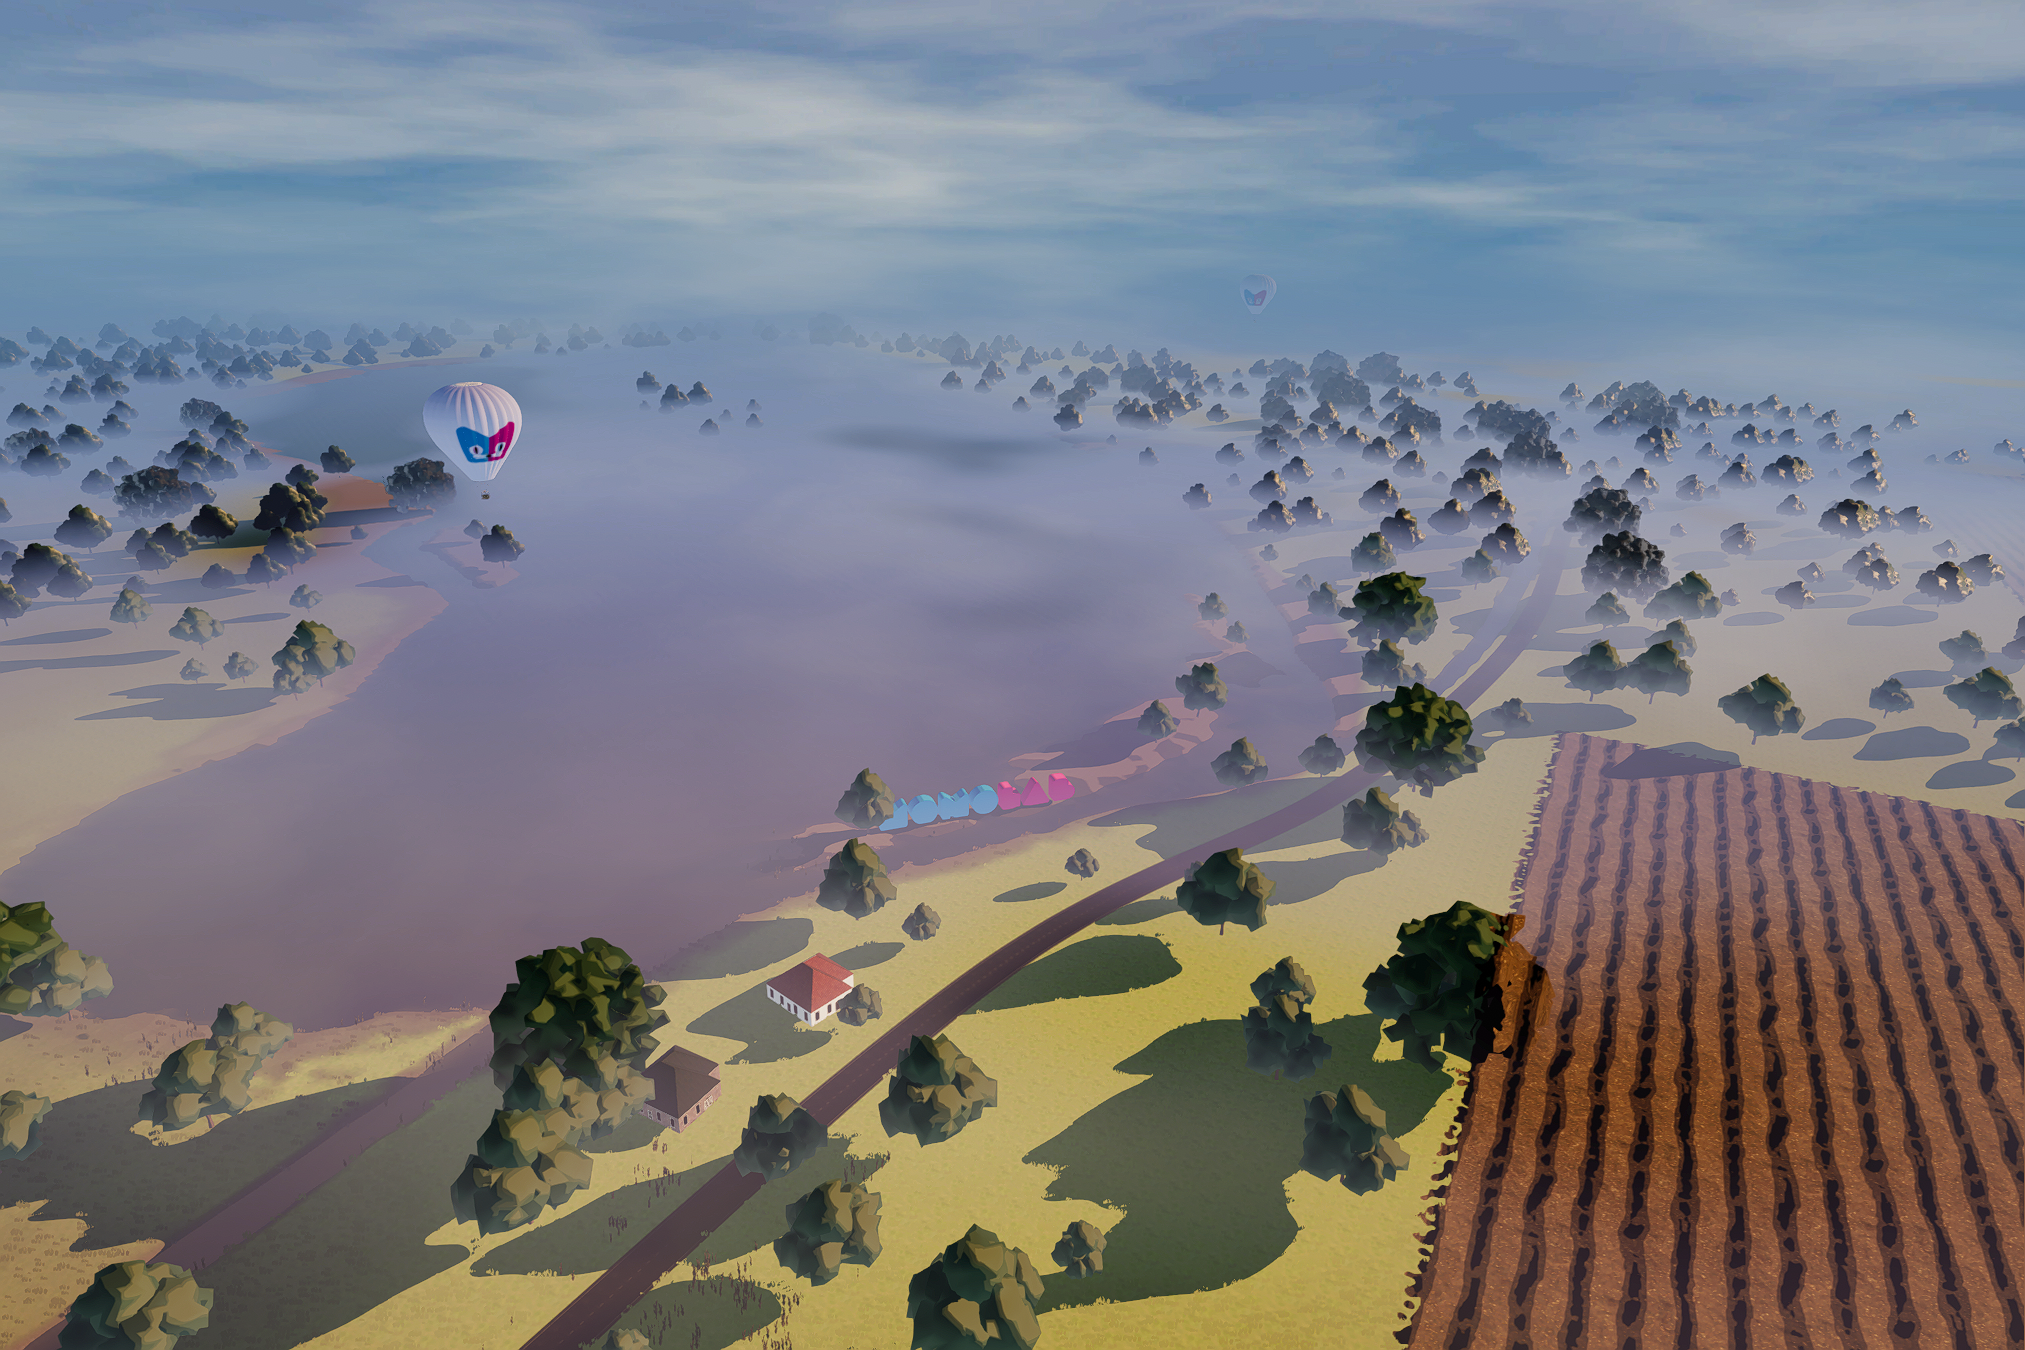
To fix the issues with the standard out-of-the-box fog, I created a fog shader using the depth buffer, a special texture generated by the virtual camera, to get the scene’s depth. I then blend a low-resolution blurred version of the sky with the skybox over distance and use that as input for the fog’s color. When doing so, a smooth transition is created, and it gives the fog a more dynamic feel. To add icing on the cake, I added height-based fog that emulates low-laying fog for a more scenic vibe.
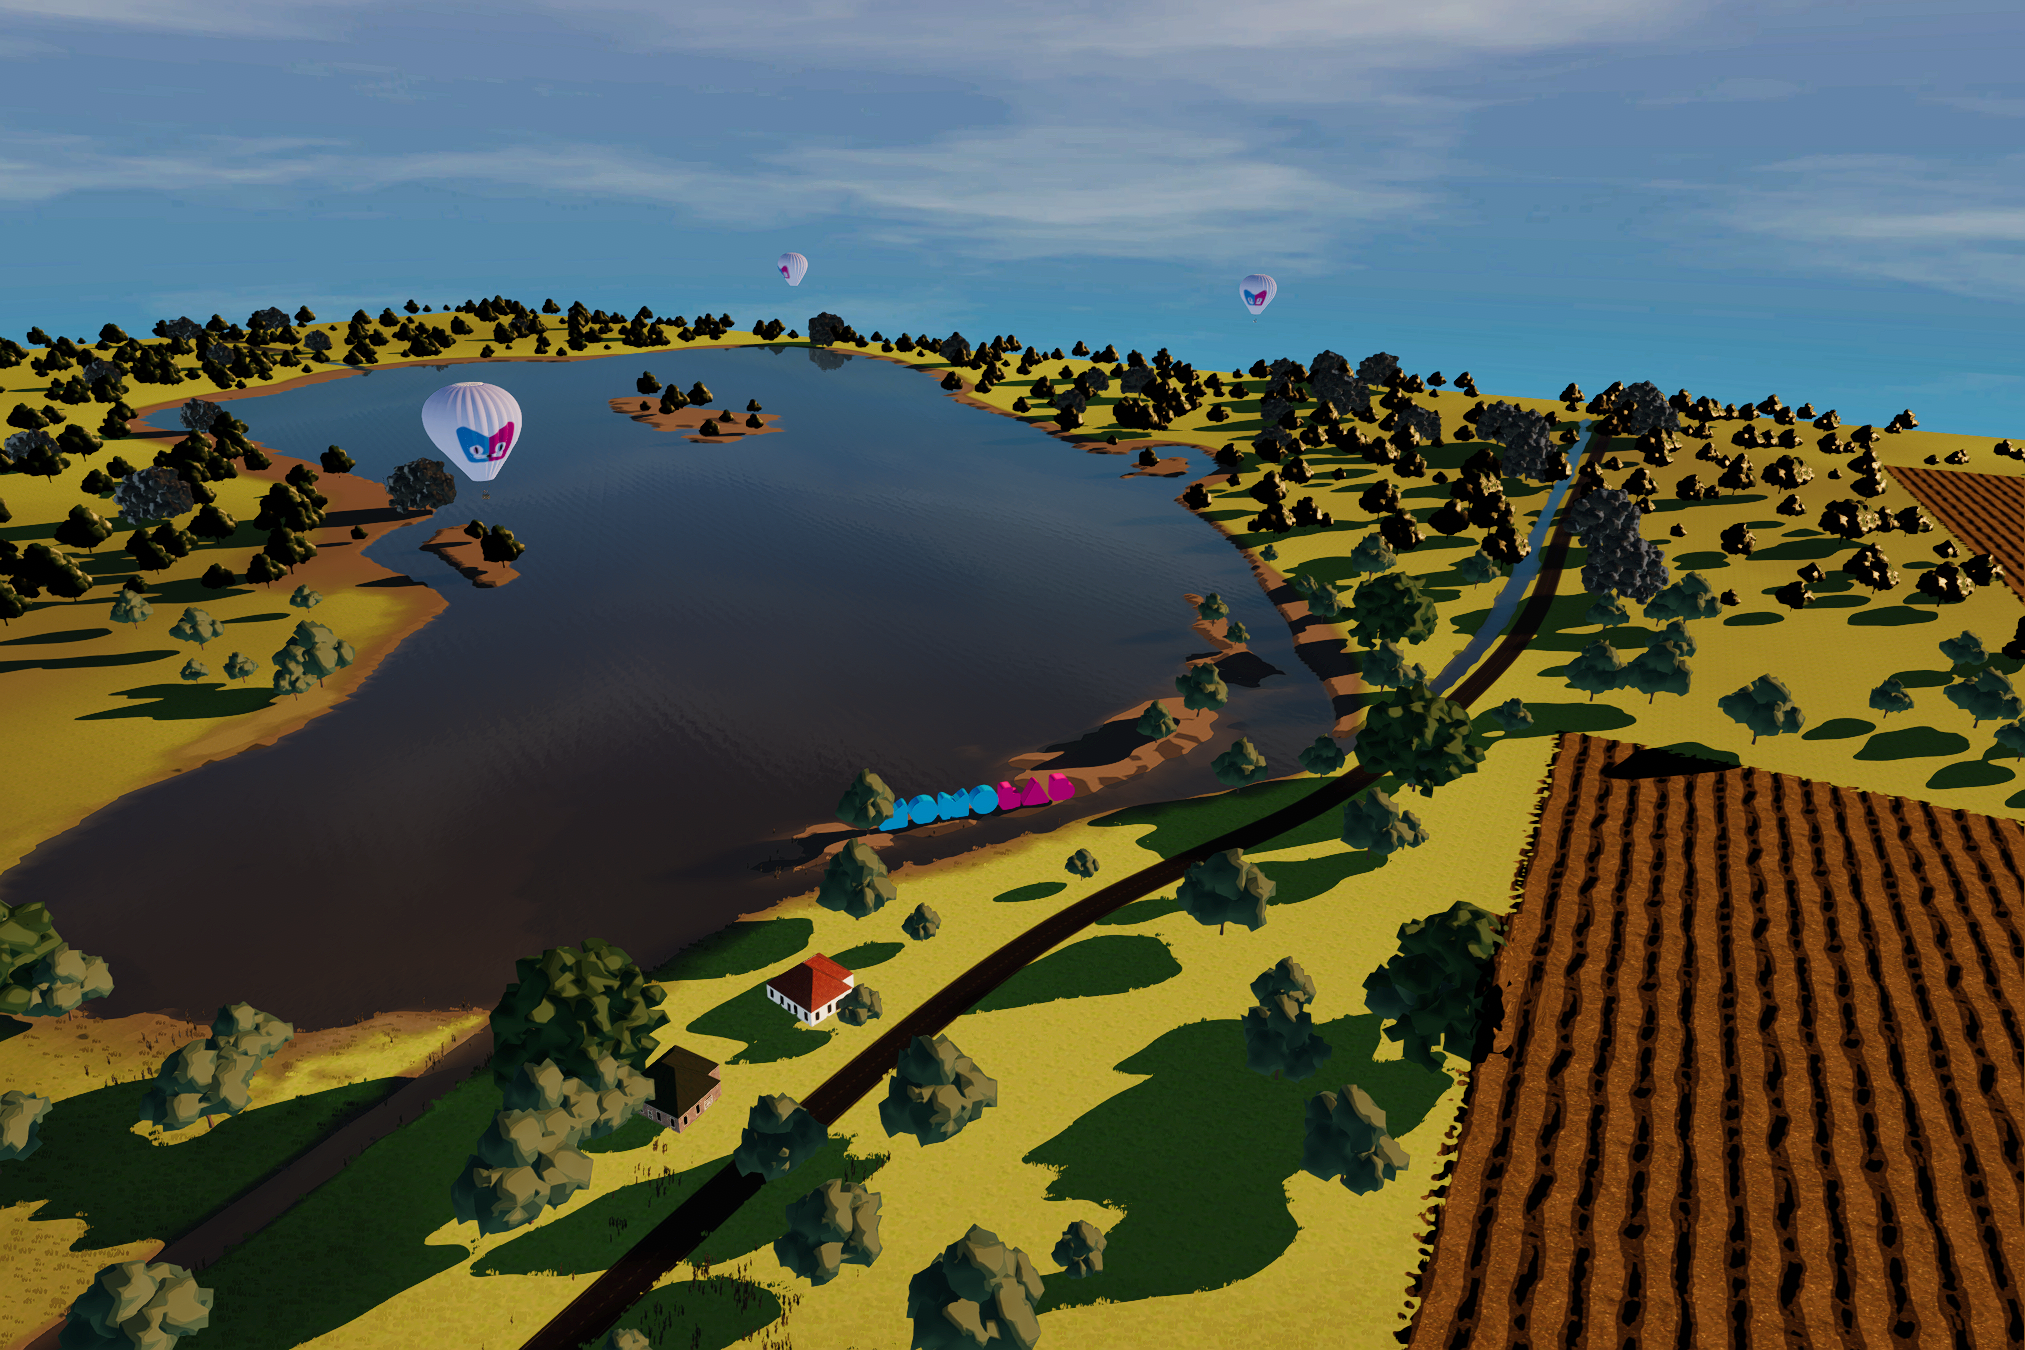
Using this technique is pretty cheap in terms of performance and works well with VR. Below you can find the final results combined with a before and after.
Conclusion
Dealing with the end of the virtual world sure is easier than the real deal. By using a relatively easy fog shader we can hide the edges and seams of the virtual world and give it more depth. As a bonus, the effect is rather ‘cheap’ to use on the performance side.
Now this is by no means a comprehensive how-to guide for making similar fog, but merely an overview of the basic steps taken. I plan on creating a tutorial on fog in the future for those who want to create similar-looking fog effects for all their large-scale 3D landscaping needs.